|
| Pletzlach! |
The pletzlach are baking right now. The smell transports me to my childhood. If I close my eyes, I can imagine that I am a teenager again. I'm standing in the living room of our tract house in the Valley, the bedroom suburb just north of Los Angeles. The smell is wafting from our tiny kitchen. Mom's treat is almost ready!
The "onion and something's baking" smell is filling my living room and kitchen today. Tears well up in my eyes--I'm smelling memories of my mom's kitchen. It's a happy cry!
What are pletzlach, you ask? Joan Nathan, in her book, "Jewish Cooking in America," says:
"Pletzel, which rhymes with pretzel, is the foccacia of the Jewish food world. Also called pletzlach (like in our house), onion zemmel, onion pampalik, or onion board, it looks and tastes very much like the flat bread laden with onions and poppy seeds I recently ate in the marketplace of Izmir. After all, pizza began as pita, sprinkled with olive oil and za'atar (a combination of spices), a meal for a poor person. "
A friend of mine told me about this book on Thanksgiving. She said that the stories about the history of the foods and the old ads were lots of fun. I learned that it wasn't only the suffrage movement that changed women in the early 20th century. The manufacturing of foods like ketchup and frozen foods freed women up from making many foods from scratch. Foods like Crisco enabled some women to make foods not possible for them earlier.
The recipe, "Pletzlach with Onions," tugged at my heart strings. After seeing it, I found similar but different recipes from the New York Times online, and on various websites. Joan Nathan's recipe is an adaptation of a recipe from the 1947 Community Cook Book from Woonsocket Rhode Island--one of her favorite cookbooks.
Our HBin5 group did "historical recipes" last month. This month, we are doing "family traditions" recipes. I guess that this recipe fits both categories!
My recipe is an adaption of Joan Nathan's, as I am trying to figure out my mom's method (Mom didn't have recipes, she cooked by feel):
Pletzlach with Onions
2 tsp salt
2 tsp sugar
2 TBSP vegetable oil (Mom wouldn't have used shortening here!)
1 cup plus 2 TBSP warm water
1 package instant yeast
4 cups all purpose flour (approx. Mom used Gold Medal or Pillsbury)
1 large egg, beaten
1-2 onions, finely chopped (optional, saute' in vegetable oil ahead of time)
1 TBSP poppy seeds
kosher salt

1. I lightly sauteed the onions in vegetable oil ahead of time. I don't remember if Mom did this or not, but I remember the onions had a sheen to them. Since the onions will be baked on the rolls, I don't want to brown the oinons. I did this the day before. The book says 4 cups of onions, and that was too much.
 |
| My dough really cleaned the bowl! |
2. In the mixing bowl of your mixer, add the salt, sugar, oil, yeast, and warm water. Gradually add enough flour, mixing, until you have a dough that holds together. Usingn anything other than King Arthur flourn is a radical departure for me, but I'm trying to get Mom's bread texture). Change to the dough hook, and knead together about 10 minutes (3 minutes on a Kitchenaid--special mixing action), or until dough is smooth.
 |
| Before rising |
 |
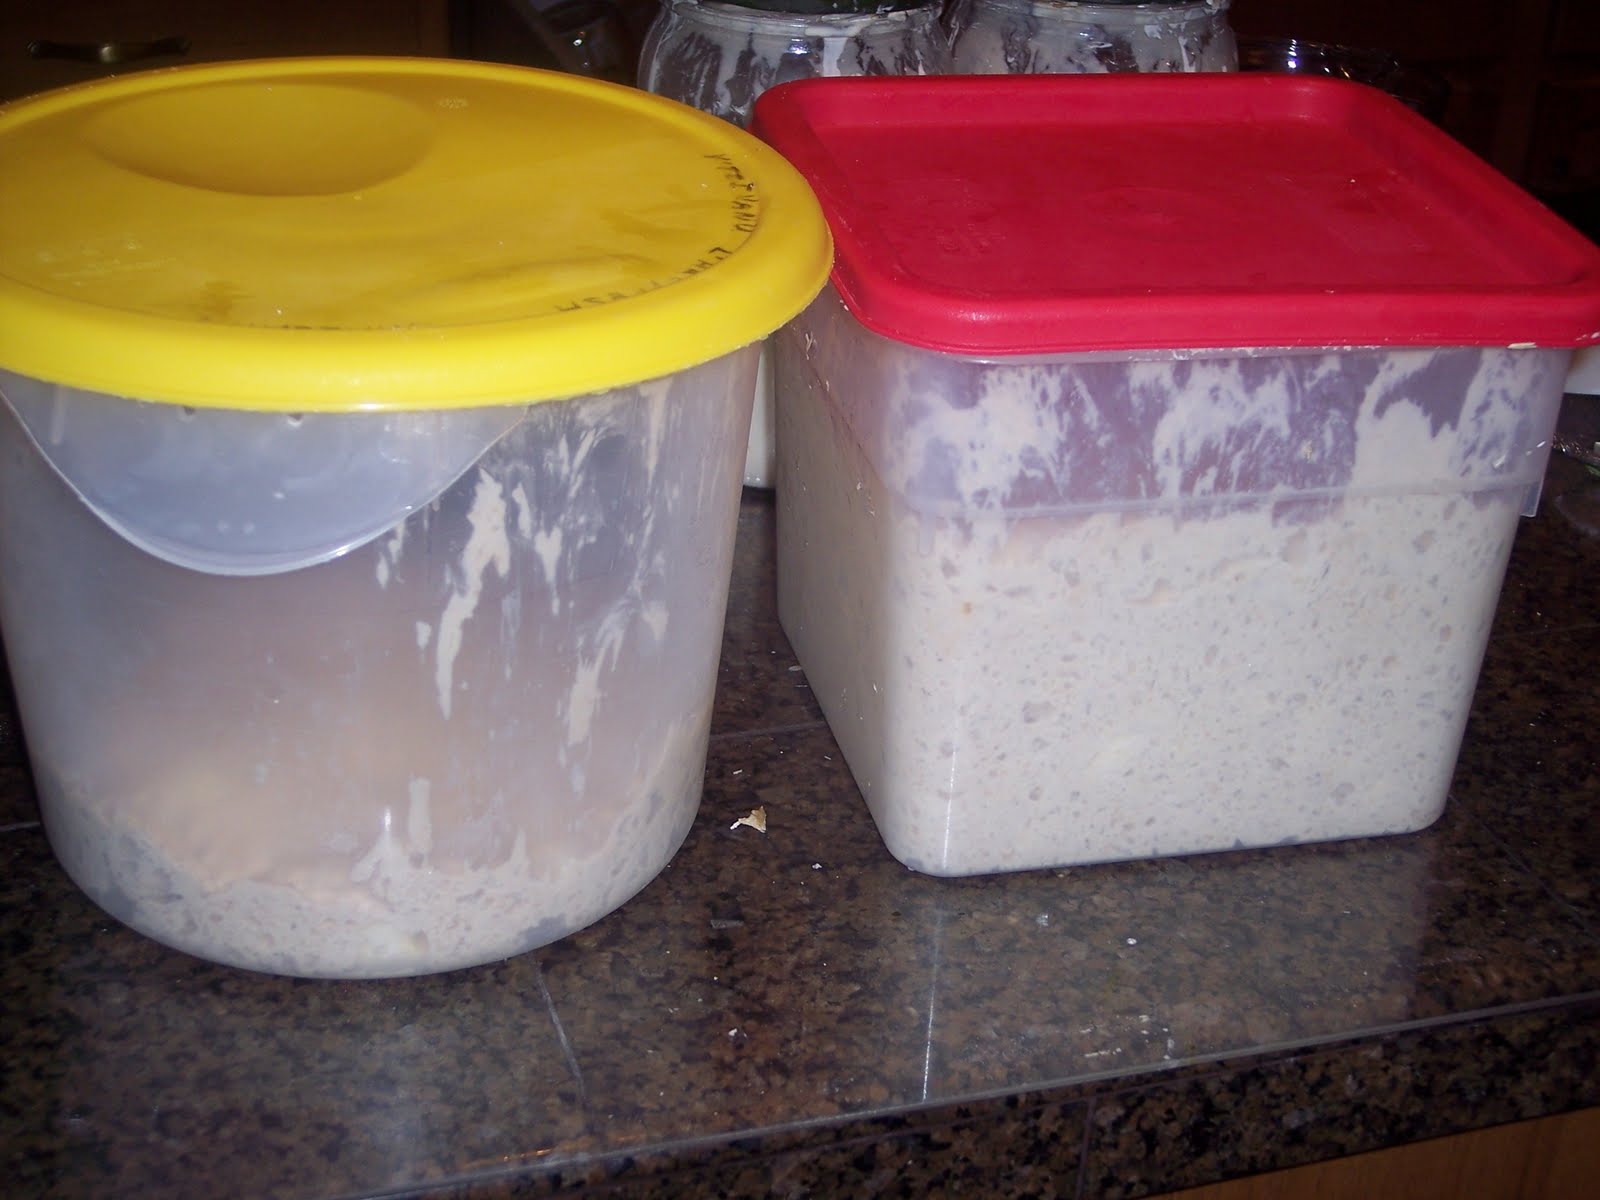
| After a 2 hour rise |
Place dough in a greased bowl and allow to rise for 2 hours or until doubled in bulk.
3. Divide the dough into 10 parts, about 4 ounces each. Roll or pat out into a circle 1/8 inch thick, about 4 inches in diameter. Place on a greased baking sheet. Press down in the center, leaving an inch border. Sprinkle with the onions, poppy seeds, and kosher salt and allow to rise a half hour.

4. Bake in a preheated 375 degree oven for 40 minutes or until golden. We enjoyed them almost right out of the oven, with butter melting all over!

The texture was just as I remembered it to be. The New York Times recipe contains eggs, but I just might stay with this one. I think I might cut back on the dough, and try a bit of oil on top.
I've been really enjoying these with butter over the past few days. They are great with soup!
Have you ever enjoyed pletzlach?