Wednesday, February 16, 2011

Valentine's Day Spinach and Cheese Calzone


Spinach and Cheese Calzone
 When I think of a Valentine's Day dinner, I think of sharing.  Sharing time, sharing help, sharing friendship, sharing love.

Food is fun to share.  However, chateaubriand steak for two can be pricey.  That's why I thought of calzone.  Although the HBin5 group is making whole grain "Stuffed Sandwich Loaf" for our current assignment, the ABin5 Spinach and Cheese Calzone seemed just right for Valentine's Day.

I made a batch of olive oil dough the other day.  It would be great for pizza, calzone, and foccacia bread.  This dough is "good" for 12 days, and so there's a good chance that I'll make enough recipes with it.  This new square dough bucket really fits nicely in my fridge, too!


I sauteed more spinach than suggested.  One half cup of spinach did not seem like enough--a second batch of spinach was made. The filling was made first , then set aside.  Next time, I'd make the filling while the dough is resting.  The dough needed to rest several times because it kept stretching back while being rolled out.

One change that was made.  The rolled out piece of dough was much larger than my pizza peel.  I thought I'd risk putting the calzone together before transferring it to the peel (after taking a picture, just in case!).  Therefore, I loosened the dough on one half, put the filling on the other half of the dough, and manuevered the folded creation onto the pizza peel. This was a little tricky, but was accomplished with my dough scraper and moving extra flour under the calzone.

Once the calzone was moved to the peel, I adjusted it and cut 3 slits into the top.  It wasn't necessary to seal it, it seemed to seal itself.

I had forgotten to add the broiler pan for the water--it's been awhile since I baked with steam.  Therefore, I spritzed water every few minutes for the first 10 minutes.  That seemed to work just fine.  The calzone baked to a lovely golden brown color, and was firm.  It was easy to slide it onto a baking sheet, covered with a towel to absorb heat.


Cooling on a Towel


Great with salad and Green Beans!


We both enjoyed the calzone.  However, my hubby confided in me that next time, he wants to try marinara sauce with his calzone.  He just didn't want to hurt my feelings.  Actually, he has a great sense of what would make a dish better.  We had a lemon chicken recipe last week that was so-so.  He suggested green olives, and it was fabulous!  Therefore, we will try marinara sauce on the second half of the calzone.

Here's a romantic baking comic that my hubby gave me the other day.  He reads the comics daily.   We have "Love is..." comics pasted up all over the house.  This was pretty special, since I love to bake!  I thought my co-bakers would enjoy it.
For me, the secret ingredient is the excitement of knowing how much my creation will make people happy--especially my hubby.

Happy Valentine's Day!  Did you do anything special for Valentine's Day?  I hope you will leave your comment about that below.

Sunday, February 13, 2011

Cooking Appliance Alternatives to an Oven

Hi everyone,

I am happy to report that Thermador finally came through with their promise to replace the broken part on my wall oven!  Over $700 was spent repairing this oven since 2007 (part of it paid by insurance), and I wasn't going to spend $400 more on a new circuit board.   This oven has been a lemon! 

However, it's tough finding an oven to fit in our wall spot.  Also, our oven cavity seems a lot bigger than others now on the market.  Therefore, I was hoping that Thermador would stand by their product. After faxing the bills to them, they said they would provide the relay part at no charge as a "Goodwill Gesture."

It was really upsetting when my appliance repair people called to tell me that the order request for the needed relay part came back "discontinued, with no alternative."  I called Thermador back.  Happily, they provided a whole new circuit board, which contained the needed part.  Yippee, I have my oven back, after a month!

Finally, installing the repair part!
The oven is still runnning about 35 degrees lower from the set temperature, so the repair people have been contacted.  But it's been so much fun making a bunch of dinners and goodies again!  An oven makes life so much easier and enjoyable.

Without an oven for a month, I was forced to think "out of the box."  :)     Here's what was used:

Toaster oven:  The oven quit just before I was going to make bagels!  After making a starter and making the dough, I wasn't going to let the dough go to waste.  I made a number of phone calls to King Arthur Baker's Hotline that day.  Amy helped me out, and I baked these yummy "pretzels.:


"bagel pretzels"

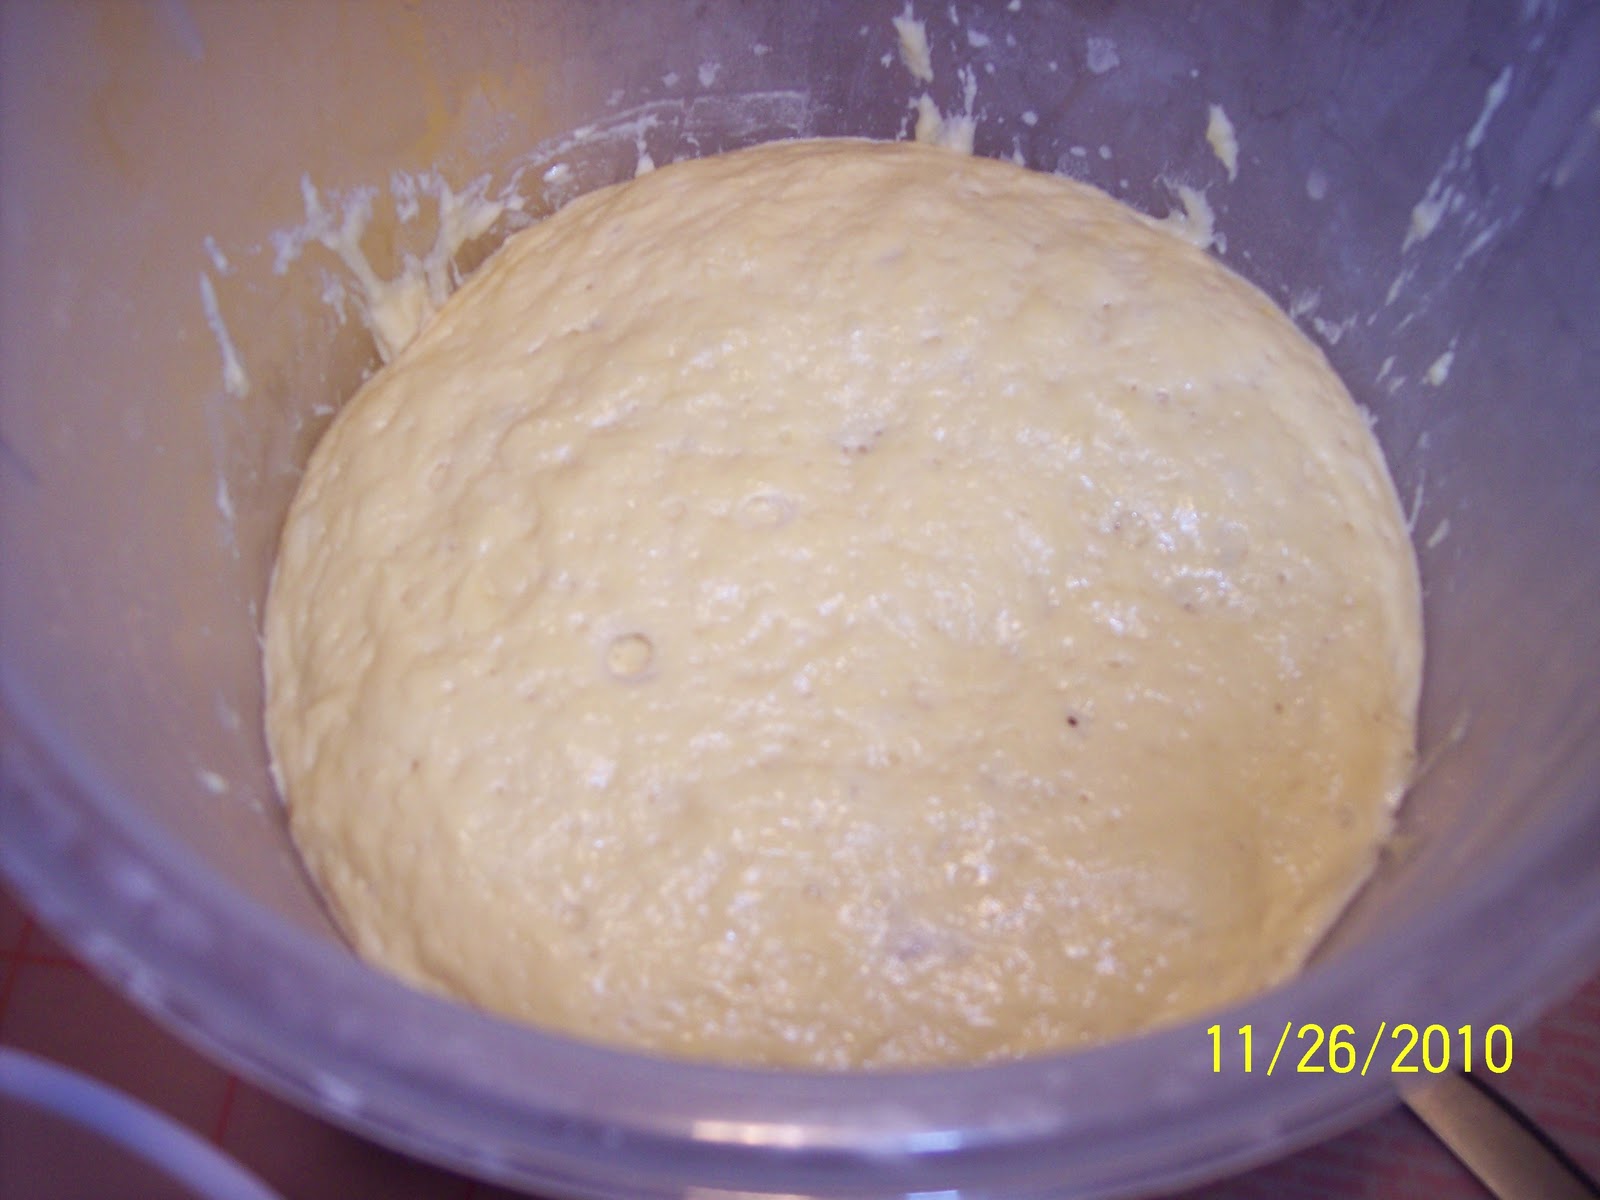
I baked two HBin5 recipes on loaf pans; 


Dilled Rye with Whole Wheat


HBin5 Master Dough, Seeded top


A loaf pan worked ok to bake a raisin pecan bread. I had the dough in the fridge, and refused to toss it. If I turned the bread around halfway, it baked ok.

I baked a small chile relleno in a 9" x  9" pan, in the toaster oven.


Bread Machine, first foray into bread baking, 2007
 My bread machine (remember those?) 

Those square shapes, with the hole in the bottom, just bore me!  However, I was able to bake an Italian herb bread and my challah recipe.  I will keep it in the garage, as a backup.  It really came in handy.  I haven't bought bread in over a year, and don't plan to!


George Foreman Grill--Our friend, Eva, was downsizing her appliances a bit to gain room in her kitchen.  She was donating her George Foreman Grill and Slow Cooker to a charity rummage sale.  We did a little "pre-sale."  I made a donation to the charity in exchange for these items! 

We grilled steaks on the George Foreman Grill right after the oven broke.  We tried using the outside grille, but we can never seem to get the propane to work in colder weather.

Stovetop--made soup and sauteed chicken.

Microwave--especially good for quick warmups.  We prefer an oven, have seen reports of how microwaves change the chemical composition of foods (even water!).

Slow cooker!  I had only used a slow cooker for soups and stews some years ago.  Wow, I had really been underusing this treasure!  At first, I just made a bean stew.  But then I went to the library and found a few of the slow cooker books still were on the shelf.  Lucky me!  One of the books showed how to make so many dishes, including desserts, in a slow cooker:


'Old Fashioned Applesauce Cake with Walnuts"
From "Not Your Mother's Slow Cooker Cookbook"
by Beth Hensperger and Julie Kaufmann
I found several easy chicken recipes in the "Williams Sonoma Slow Cooker--Food Made Fast" cookbook.  The beautiful pictures made my mouth water!


"Williams Sonoma Slow Cooker--Food Made Fast"
by Norman Kolpas and Chuck Williams


I tried the Chicken Cacciatore recipe, and we loved it.  It was temping to just cook the whole recipe in the large fry pan--I was already using it to saute the chicken.  However, I am glad that I transferred everything to the slow cooker to cook on high for 4 hours.  The meat was incredibly tender!

Here is the Chicken Cacciatore, as I adapted it to our tastes.  The garlic has been  increased, and the salt was decreased.

Chicken Cacciatore, Slow Cooker
Adapted from "Williams Sonoma Slow Cooker--Food Made Fast"
Serves 4-6 (Made 2 dinners for us, plus enough chicken with sauce to serve over pasta).

Ingredients:
1/2 Cup Flour

1/2 TBPS salt

1 1/2tsp. freshly ground pepper

A 3.5-4 lb. chicken, cut into 8 pieces

2-4TBSP olive oil

2 sliced Red Bell Peppers

1 sliced onion

6 cloves garlic

3/4 Cup Dry Red Wine

3/4 Cup Chicken Broth

28oz can Crushed tomatoes

1 TBSP dried oregano

8 oz. sliced mushrooms


Directions:

Brown the chicken:
In a ziplock-type bag, combine flour, salt and pepper. Coat the chicken pieces evenly with the flour mixture, shaking off the excess. It might be easier to do this in batches. In a large frying pan over medium-high heat, add the oil. Add the chicken pieces, in batches, if necessary, skin side down. Cook until golden brown on the bottom, about 7 minutes. Turn the chicken and cook on the second side until lightly browned, 3-4 minutes longer. Transfer the chicken pieces to the slow cooker.

Cook the chicken and vegetables:
Return the frying pan to medium-high heat. Add oil if needed. Add the bell peppers, onion, and garlic and saute until they start to soften, about 3 minutes. Pour in the wine and broth to deglaze the pan, stirring to scrape up the browned bits on the pan bottom. Stir in the tomatoes and oregano and bring to a simmer. Pour the mixture over the chicken. Cover and cook on the high-heat setting for 4 hours or the low-heat setting for 8 hours.

Add the mushrooms:
About 10 minutes before the dish is ready, stir in the mushrooms. Season to tast with salt and pepper and serve.

Great with basmati rice or fettuccine.
 
A real bonus for slow cookers is that they don't heat up the kitchen, while providing a great dinner.  This willl come in really handy in the summer! 

I guess the silver lining to our oven's breakdown is that I learned how helpful these other appliances, especially the slow cooker, can be!

Thanks for visiting me today.  I bet you have had to "think outside the box at times."  I've heard stories of long kitchen remodels.  The prior owner remodeled this kitchen before selling this home, and they began eating out all the time.  When the kitchen was done, they never went back to cooking! 

What alternatives to the oven have you used?  I hope you will leave a comment below.

Tuesday, February 1, 2011

Brioche--Is Butter Really Better than Margarine?

I'm catching up on some of my posts, and thought I'd share this one with you.  Around Thanksgiving, I went into test kitchen mode.  Zoe Francois, one of the AB5 and HB5 authors, posted a step by step instruction for making Zoe Francois' AB in 5 Soft Thanksgiving Dinner Rolls

Zoe's recipe calls for butter.  She's a wonderful, talented pastry chef, and I wondered if she cringed when I asked about using margarine in brioche. (Her later post said that she didn't.).

However, we have dietary restrictions.  Therefore, we usually use margarine instead of butter or water/soy milk instead of "regular" milk.  However, I began to wonder if there really was a taste difference....   I decided to make a half batch of AB5 brioche dough with margarine, and a second batch with butter and compare.  Just this once.  

Brioche dough, using margarine
I began by making a half batch of brioche dough with margarine, a week earlier.  I made a change by adding a bit more flour to the dough, so I could make a braided bread.  After refrigerating the dough overnight, the dough looked like this.  It made a really nice braid:


Braided loaf from brioche dough


The bread was good, but not fabulous.  Due to all the eggs and the extra flour, the bread had a very firm feel and mouthfeel to it.

Last night, I made another half batch of brioche dough.  This time, I followed the recipe exactly.  I used butter. The dough looked a bit different from the one made with margarine--different color:

Brioche dough made with butter
Brioche dough, using margarine
 It's a bit looser looking because I didn't add the extra flour.
  
Brioche dough, after gluten cloak
Zoe's instructions didn't say anything about doing the gluten cloak, but all Jeff and Zoe's recipes call for it.  I did the gluten cloak with the 1 1/2 of dough I was going to be using.  I did the same with the 2 ounce pieces of dough for the rolls.  Maybe it's overkill, but I was looking forward to some special rolls!


I placed the pieces of dough in the prepared pan and covered them with a tea towel:


I know the recipe says to use plastic wrap, but I love tea/flour sack towels.  They work well, and are more environmental in my opinion.

While the rolls were rising, I used the rest of this butter-dough to make a loaf of brioche bread.  Since this dough wouldn't have butter added on top, it would be a better comparison for my loaf made with margarine.    
Brioche loaf, with butter
I covered this loaf with a tea towel and let it rise about 1 1/2 hours--till the rolls were out of the oven.


After about an hour, I put the egg wash on the rolls and placed them into the 350 degree oven.  I usually put the timer on for 10- 15 minutes less than the rise time, so I turn on the oven at about the right time.


The rolls looked heavenly after about 30 minutes in the oven.  My mini egg poacher seemed perfect for melting the butter!


It was going to be tough to wait to taste them!


I put the loaf into the oven.  When it was done, it looked just beautiful:
Buttery Brioche Loaf


And the taste?  I broke open the first roll and ate from the inside.  The rolls, made with butter, had a slight more "buttery" taste.  


I brought a roll out to my hubby, who was wrestling with our leaf blower's vacuum attachment.  He gave the rolls a "9," which means he felt they were really good.  He couldn't tell the difference between the dough of the margarine and the one from the butter. 


The next step would have been to taste them both at the same sitting, but we were too full!  Both were really good.  However, some butter purists may enjoy the batch made with butter.


Stay tuned...