Sunday, June 27, 2010

Adventures with Brioche!

Adventures with Brioche!


Just had another baking adventure!  I now know the smoke detectors that are connected to the alarm company work!!! Check the notation I put in my cookbook--"Put foil or a pan underneath so that the caramel won't drip and smoke!!!"

I have wanted to try making brioche. It seems to be a richer version of sweet challah, which I love.

The dry flour and salt were mixed up about a week ago, when I measured out the ingredients for the banana bread:


 Shlep once, bake twice!


A few days ago, I mixed up the dough.  It looked beautiful when  the dough came out of the refrigerator this morning:   

First, I prepared the brioche loaf.  I decided to experiment with the loaf shape, by forming 6 balls and shaping them in the pan. The pan looked bare at the beginning, but I put it to rise anyways.  It really rose after a few hours.

While the loaf was rising, I prepared the Caramel Sticky Buns, according to the directions in  the book.  I put the caramel topping in the round cake pan and weighed out the dough.  I formed the dough into a ball...

and let it rest for a few minutes to make it easier to handle.  I rolled the dough into a rectangle with my pastry roller and added the filling.  Love that gadget--I can hold the pastry roller by the vertical handle in the middle and have better control!) I rolled the dough into a long log.  I used my bench knife to "unstick" any part of the dough.

 Finally, I used a very sharp serrated knife to cut the dough into 8 pieces.  The buns were placed on top of the caramel topping in the pan.  I let them rise really high.  Boy, would my hubby love these!
 

I had never baked caramel sticky buns before.  I figured it would take awhile to bake, so I put them in the oven while I went out of the kitchen for about 10 minutes.


When I came back, I turned the oven light on to check the buns.  There was a flame on the heating element!  I opened the door and smoke was billowing out!!!  The caramel must have been dripping out of the pan.  I turned the oven off and put a pan underneath.  Forgot to turn the oven on again for about 10 minutes.  After finally remembering, I turned the oven back on to finish baking.  A few minutes later, smoke began billowing out ( I was in the kitchen but washing dishes and looking the other way) and the smoke detector went off.  I guess the caramel on the pan was smoking. 


I couldn't find the alarm company phone number (it was posted, but hidden by a box of Kleenex). Several frantic minutes may have passed, trying to find the right number.


Finally found the alarm company number on my cell and called them.  I told them "it was a cooking incident, and don't tell my husband.  And, by the way, how do I turn this darn alarm OFF?"  Turned the alarm off.   Called them back a few minutes later to ask why they didn't call me.  He said that my line was busy. Besides, they call the fire department first!

Oops, I almost forgot the brioche loaf!  I took it out of the microwave, where it had been rising for a few hours.  I was afraid that it rose too much:


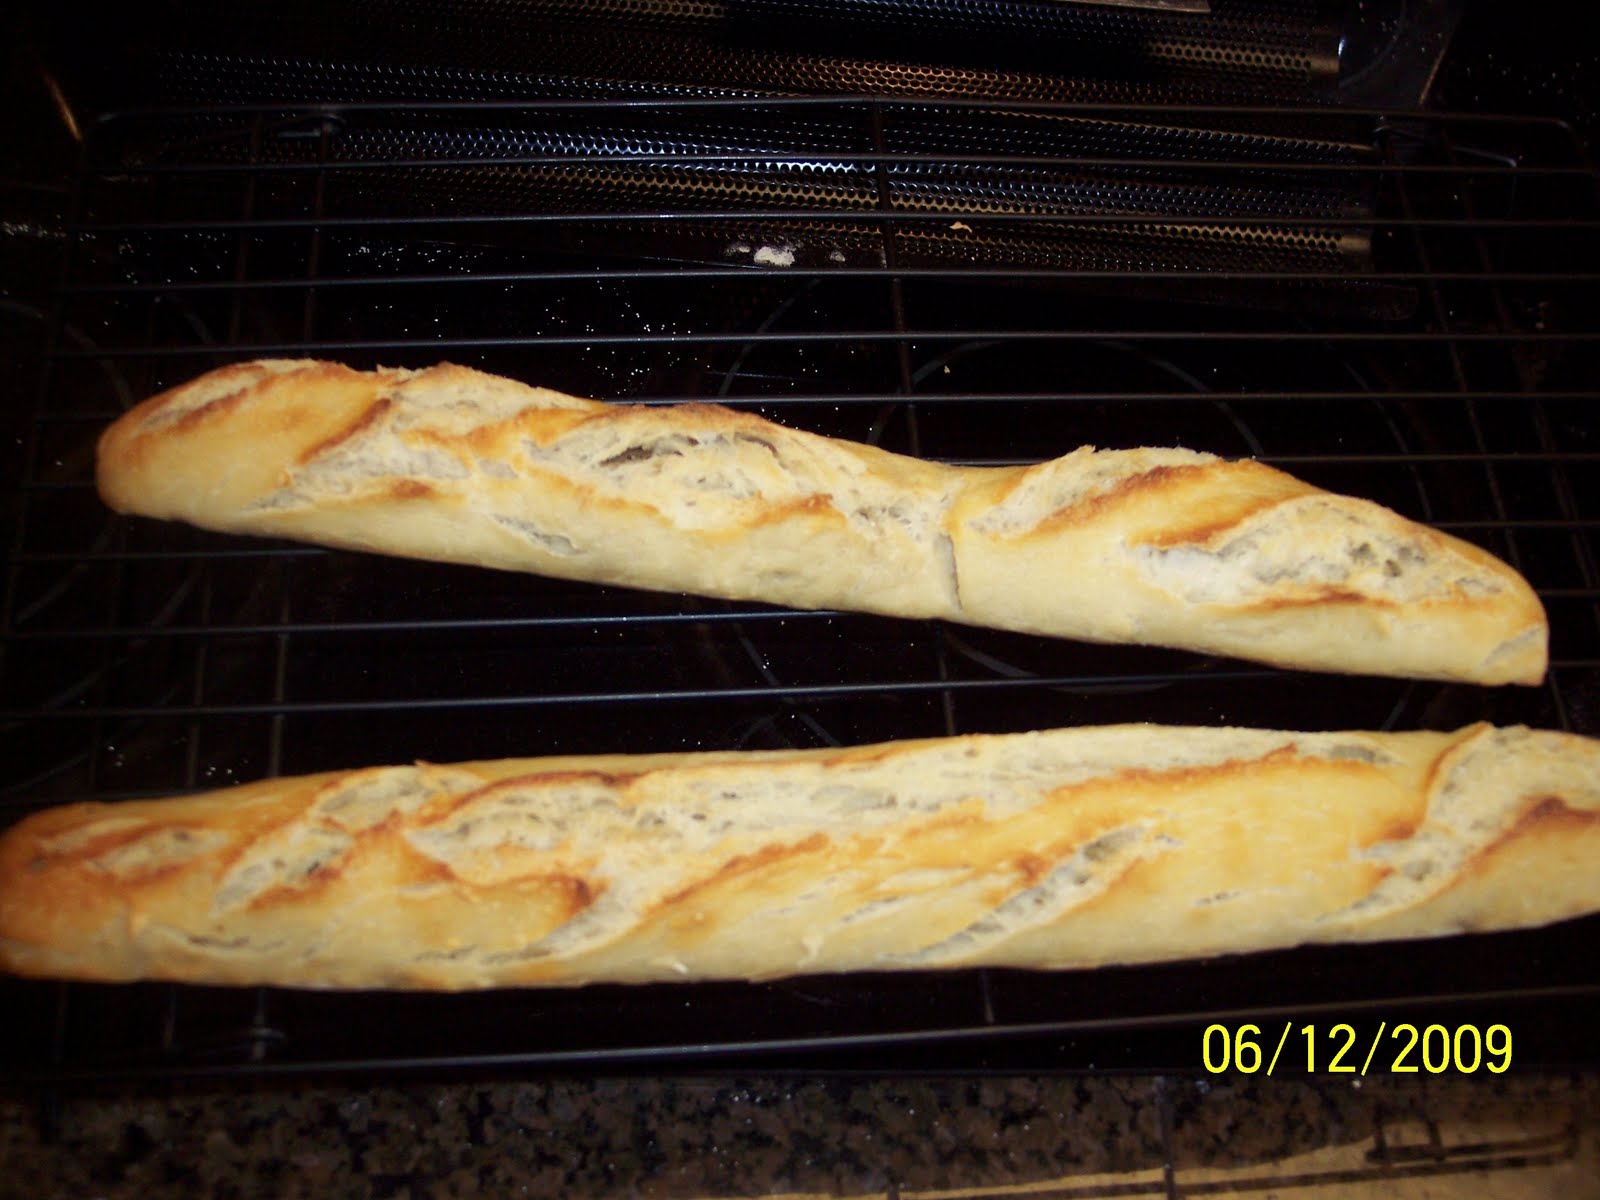
I brushed it with egg wash and put the pan in the oven.  I went to laugh about the buns incident with another baker.  After about 30 minutes, the loaf was done.  What a beautiful golden color!


Well, I ended up calling my hubby; I can't keep anything from him!  The oven works; this is a new oven element that I replaced only in March-- 


and the house is fine.  Luckily, the only reminder is a pan that is burned from the small fire below it:


Between this and that pan of oven-ready dough I dropped earlier in the week, it's been quite a week of baking!


Well, thanks for stopping by to visit!  I hope you will leave a comment (or a laugh!) below.  Maybe you can add a handwise or time saving suggestion that will help others?


Handwise tips:  If you have hand pain, tendonitis, or arthritis or any other pain issues and want to make these recipes,


  • Make the dough several days before you bake. This brioche dough can be stored in the refrigerator for up to five days. 


    • Shlep once, bake twice!  Our group tends to make a recipe a week, and posts about them every two weeks.  I don't like pulling out my five-pound containers of flour. Filling up a smaller container more often is bothersome.  Some time and energy is saved by measuring out the dry ingredients for both recipes at once.    
    • Weigh out the ingredients by scale.  It's faster and easier than measuring by cups.  It's more accurate, too--a cup is a cup, no matter whether you fluff the flour or pack it in. Just be sure to label what's in your container!
    • A mixer or food processor can help you.  Put soapy water in it and maybe run it for a few seconds to help clean it after removing the dough.  
    • Then, if you are using a food processor, remove the dough hook/blade so that you can fill up the bowl even more.  Put an empty (cleaned)  container from 35mm film upside down, over the center portion and you can fill it up higher to soak. The water shouldn't leak out!
    • Let the dough rest if it resists stretching out.  Wait 10-15 minutes after doing the gluten cloak, and it can easily be shaped.  Good time to have a seat and rest your hands!
    • Bake on 2 separate days.  You don't have to bake it all at once.
    • Soak your tools in your empty dough bucket or a pan when you are finished using them.  That way, you can wash them easily later (or tomorrow!)  Give yourself the permission of time to clean up much later.

    About the HBinFive Baking Group
    The HBinFive Baking Group, started by Michelle of Big Black Dogs, is baking through all of the breads in the Healthy Bread in Five Minutes .

    Thursday, June 24, 2010

    Focaccia with Garlic Shards, Artichokes, Feta Cheese and Rosemary


    Focaccia with Garlic Shards, Artichokes, Feta Cheese and Rosemary


    It all began with the cheese!

        (Yes, that's my Flintsone's plate/cutting board below)

    I went to the Spring Garden Faire at the Exchange Place in Kingsport, TN in April.  The Exchange Place is a working 1850's farmstead that is a historical landmark.  It was fun browsing through all the booths of vendors--plants  (especially native and heirloom), plant accessories, crafts and  locally made food items like honey, breads and salsa.  

    Then I saw the booth for the local man who makes his own goat cheese.  He was giving out samples!  I tried the plain kind, and it was so smooth and creamy! The farmer said I could freeze the cheese, break off pieces, and use it up within 6 months. I was hooked, I had to buy some.  I bought the garlic-dill flavor.

    So I have had this cheese in the freezer for about 2 months, savoring it a little at a time with toast or fruit.  YUM!

    I decided to use the cheese on a special pizza or focaccia bread.  I hadn't tried making any of the "Artisan Breads in 5 Minutes a Day" or "Healthy Breads in 5 Minutes a Day" focaccia breads yet, so I started flipping through those books.  It sounded like the "Focaccia with Garlic Shards, Artichokes, and Rosemary" would be a good candidate for my special cheese.

    On an early Monday morning, I decided to make the focaccia bread for dinner that night.  That's not hard to do, because the HB5 dough is so quick to make!  I made the "100% Whole Wheat with Olive Oil" dough. Here are my substitutions for the focaccia bread:
    • Used White Whole Wheat flour, instead of Whole Wheat
    • Doubled the amount of garlic
    • Added four ounces garlic-dill goat cheese
    I mixed up a half batch (2 pounds) of the dough about 9 a.m. and put it in the microwave oven to rise for about 2 hours.  Then I went to the gym to exercise.  I ran a few errands (which included buying the marinated artichokes) and didn't get home until about 3p.m.  
    However, I wasn't worried about the dough--I knew that the dough wouldn't become spoiled.  It doesn't have any eggs, and the longer rise might improve the flavor.  I usually refrigerate my dough overnight, to help make it easier to handle.

    The olive oil gave this dough a wonderful, silky feel.  I shaped 1 1/2 pounds of dough into a ball to stretch the gluten.  Then the dough rested about 10 minutes to make it easier to handle.  After the rest, I rolled it into a rectangle with my pastry roller.  When the dough rectangle became large enough, I placed it in my baking pan.

    I "dimpled" the dough so that the olive oil would stay on the dough.  The garlic had already been cut into slivers, and sauteed in olive oil. Both went onto the dough.  The garlic and garlic-infused oil smelled wonderful!  The artichokes were drained, cut into slivers and put onto the dough.

    I was afraid that this creamy goat cheese would burn.  Therefore, I put the cheese on halfway through--about 10 minutes into the baking.  I'm glad that I didn't put the cheese on at the very beginning, because it did begin to brown:


    We enjoyed the focaccia bread with curried zucchini soup. The soup was also a new recipe.  While we didn't like the soup, we LOVED this focaccia bread!

    There was enough for leftovers, and it was great warmed up for another dinner.  I just made sure that we put the focaccia bread in the oven when we turned the oven on to 350 degrees.  By the time the oven got to that temperature, the pizza was warm.  Also, the cheese didn't burn.

    We will definitely enjoy this focaccia bread again!  I am calling the farmer soon, for some more of his wonderful local cheese!!!


    Handwise tips:  If you have hand pain, tendonitis, or arthritis or any other pain issues and want to make this recipe,  
    1. You might space it out over a few days.  Make the stored dough several days before. You could slice the garlic and artichokes a day or two before, and place them in separate storage containers.  You might try sauteeing the garlic beforehand and placing it in the refrigerator.  Just be sure to let it come back to room temperature so that the olive oil becomes liquid again.
    2. When you are mixing the dough--If your hand problems respond to warmth, mixing with your hands may be a wonderful option.  The water you add is about 100 degrees, and it's a very wet dough.  It's pretty easy to mix, and no kneading.  The olive oil in this dough makes it even easier to mix.  I always love to put my hand into the warm dough to mix it!  You can get a better idea of when the dough is "just right," too!
    3. Let the dough rest if it resists stretching out.  Wait 10-15 minutes after doing the gluten cloak, and it should easily be  patted or rolled out.  Good time to have a seat and rest your hands!
    4. Soak your tools in your empty dough bucket or a pan when you are finished using them.   That way, you can wash them easily later (or tomorrow!)  Give yourself the permission of time to clean up much later. 
    5. I think that people are less inclined to feel pain when they are doing something they really enjoy!  I just loved making (and eating) this recipe!!!


    Thanks for stopping by to visit!  I hope you will leave a comment below.  Maybe you can add a handwise or time saving suggestion that will help others?


    About the HBinFive Baking Group
    The HBinFive Baking Group, started by Michelle of Big Black Dogs, is baking through all of the breads in the Healthy Bread in Five Minutes book. For more information on the HBinFive baking group, check out BigBlackDog.

    Whole Wheat Mixed Berry Bread and Muffins

    Whole Wheat Mixed Berry Bread and Muffins


    Our assignment for the Healthy Bread in 5 Minutes a Day baking group was to make 1/2 batch of Whole Wheat Mixed Berry Bread.  Then we were to bake either a loaf or muffins.

    Substitutions:  
    1. Used white whole wheat flour
    2. Made a 1 1/2 pound loaf, instead of a 2 pound loaf, leaving  enough dough for 9 muffins.  I wanted a loaf for dinner, as well as muffins for my hubby's snacks.

    I made the dough a few days before baking, using a four-berry frozen fruit mixture of strawberries, blueberries, boysenberries and raspberries.  Isn't this a pretty dough? :


    After making the dough, I put it in the


    microwave to rise.  First, I put 1/4cup of water to heat in the microwave for a minute.  That creates warm steam, which helps the dough to rise.  

    It's hard to tell if my dough has risen very much, if I don't make a whole batch.  So I put a post it note at the top of the dough when I set it to rise. 


    Two hours later, you can really tell if it has risen!


    First, I made the loaf bread.  I found this dough to be somewhat sticky, so I kept adding more and more flour as I worked with it.  

    I wanted a rectangular loaf that would be easy to slice.  I found a folding technique in "A Blessing of Bread--Recipes and Rituals, Memories and Mitzvahs" by Maggie Glezer.  Ms. Glezer has wonderful interviews with long time bakers who share their recipes and baking techniques.  I just love reading stories of the bakers!  And they share their wonderful tips!!  One bagel and bread baker shared his folding method for a loaf of deli rye bread that would be sliced for sandwiches.  Start with a thick rectangle of dough. Then,
          "To shape the loaf, fold opposite edges in to the center of the dough and press the dough to even its thickness (1,2 below).  Roll the dough up from a long (not the folded) end (3,4) to make a log that is about 3 inches in diameter and 9 inches long.  (Basically, you want to make a short fat log so you will have big slices of bread for sandwiches.)  Roll the log back and forth to even it, then place it seam side down on the peel or board."


    Then cover them with plastic wrap to rise.


    As you can see in the picture below, this method created a uniform rectangular loaf:


    I had enough dough left for 9 muffins.  This was just enough to make muffins in the muffin pan my mom gave me when I moved out to my first apartment.  I treasure this muffin pan, as the lack of shine shows a lot of wonderful baking done by my mother and myself:


    I put lots of raw sugar on top of the muffins.  When they baked, the sugar made a nice, crackly crust on top.  My hubby is enjoying taking them to work to eat with his coffee.  It's much healthier than many other snacks!


    Here's a picture of the interior of the whole wheat mixed berry bread loaf.  Really pretty colors:

    We enjoyed this bread in our sunroom with our dinner.  I made the optional honey butter, but it tasted great without it.  

    We also had chop salad, baked potatoes (baked along with the breads to save energy!), citrus salmon grilled on cedar planks (The recipe came with the cedar planks, yum!) and cherry pie (special treat for my hubby).

     
     Handwise tips:  If you have hand pain, tendonitis, or arthritis or any other pain issues and want to make this recipe,
    1. You might space it out over a few days.  Make the stored dough several days before.  You don't have to bake on the same day, that's the beauty of this dough!
    2. A mixer or food processor can help you.  You could put soapy water in it and run it for a few seconds to help clean it after removing the dough.  
    3. Then, if you are using a food processor, remove the dough hook/blade so that you can fill up the bowl even more.  Put an empty (cleaned)  container from 35mm film upside down, over the center portion and you can fill it up higher to soak. The water shouldn't leak out!
    4. When you shape it, let the dough rest if it resists stretching out.  Wait 10-15 minutes after doing the gluten cloak, and it easily should be able to be shaped.  Good time to have a seat and rest your hands!
    5. You might use a muffin scoop and a small spatula to remove the dough for muffins.  For some people, that's easier than squeezing the muffin scoop handle.
    6. Maybe making a loaf on 2 separate days.  You don't have to bake it all at once.
    7. Soak your tools in your empty dough bucket or a pan when you are finished using them.   That way, you can wash them easily later (or tomorrow!)  Give yourself the permission of time to clean up much later.
    Thanks for stopping by to visit!  I hope you will leave a comment below.  Maybe you can add a handwise or time saving suggestion that will help others?

    About the HBinFive Baking Group
    The HBinFive Baking Group, started by Michelle of Big Black Dogs, is baking through all of the breads in the Healthy Bread in Five Minutes book. For more information on the HBinFive baking group, check out BigBlackDog.


    Tuesday, June 22, 2010

    Shaping Baguettes

    Shaping Baguettes

    I'm still practicing shaping a pretty baguette.  I was getting sad that I wasn't able to do this classic shape very well.  

    The pictures in the "Healthy Bread in Five Minutes a Day" book explain a method of letter fold and then holding the ends and stretching the dough.  I get pinched ends and irregular thickness when I try this method.  

    I saw a helpful video by Susan Reid at King Arthur Flour Baking Education Center.  She said that baguette shaping takes practice, so don't be upset if you can't do this right away!  I've included her wonderful video so maybe you can also pick up some tips:


    Don't you just love Susan's favorite dough cover--a showercap?  :)  It works really well.  And, if you can't find your broiler pan, she uses a cast iron pan.

    I didn't use Susan Reid's starter and dough recipe.  I had some Master Dough from "Artisan Bread in 5 Minutes a Day" in the refrigerator.  It keeps for 7 - 10 days, so I often have this dough in the refrigerator. After it sits in the refrigerator for a few days, it develops a more sourdough flavor.  I don't usually use the dough the same day I make it, so it can develop more flavor.  This time was also my first time using starter!  I cut down the amount of flour and water to compensate for the starter.


    The dough was hard to mix, so I added more water until it was the right consistency.  The next morning, however, the dough was too wet.  I decided to try baking it anyways.


    Here's my first attempt, after seeing the video:


    They didn't come out in the shape I wanted, but they tasted good.  At this point, I added more flour to the dough.  I was hoping that the flour would be absorbed into the dough.  I think the dough was somewhat thicker next time.

    Next, I tried using my baguette pan.  I put parchment paper on my special two-channel pan.  I measured out 3/4 pound of dough for each baguette.  I used the video's tip of spraying the dough before I put them into the oven.  Here's the finished product, with the baguette pan in the background:


    It's strange to see that the one in the front came out nicer, and I worked with that baguette a lot less! Maybe "less is more!"  I think it will take me a bit more of practice to shape with both hands.  I do like the multiple letter fold technique in the video. Come to think of it, I did redo that baguette when I didn't like the look the first time.  So I guess I did do a multiple letter fold.  I think that I would use a pound of dough per baguette next time, to make a fatter baguette.

    I sliced up thin slices of warm baguette, spread them with butter, and ate them with a big salad.  Wonderful!

    ------------
    Update, 2 weeks later...:

    I tried baguettes again, this time with a thicker HB5 master dough.  I made the garlic studded baguette.  I used white whole wheat flour and peeled the garlic.  I also pulled the letter-folded logs into a longer log, like in our book.  This thicker dough was easier to handle:


    I gave them to a friend (a good thing, I had enough bread around here!), and she immediately tried it with butter.  They were wonderful--the roasted garlic flavored the loaves!  YUM!!


    Handwise tips:  If you have hand pain, tendonitis, or arthritis or any other pain issues and want to make this recipe, you might space it out over a few days:
    1. Use some AB5 or HB5 stored dough that you made several days before.  You don't have to bake them on the same day.  Baguette shaping is pretty "hand intensive," involving a lot of use of your hands.  Think about what else you will be doing that day--you may not want to pull weeds or do a lot of typing on that day.
    2. When you are mixing the dough--If your hand problems respond to warmth, mixing with your hands may be a wonderful option.  The water you add is about 100 degrees, and it's a very wet dough.  It's pretty easy to mix, and no kneading.  I always love to put my hand into the warm dough to mix it!  You can get a better idea of when the dough is "just right," too!
    3. Let the dough rest if it resists stretching out.  Wait 10-15 minutes after doing the gluten cloak, and it easily should be able to be patted into a larger circle or rolled out.  Good time to have a seat and rest your hands!
    4. Find what kind of rolling method works best for you.  You might pick up the dough and have gravity stretch it for you.  You might use an OXO-type rolling pin.  Or a pastry roller may be easier for you to use, with the angle of the roller coming from above.  I think a pastry roller was easy to use.
    5. Soak your tools in your empty dough bucket or a pan when you are finished using them. That way, you can wash them easily later (or tomorrow!)  Give yourself the permission of time to clean up much later. 
    Thanks for stopping by to visit!  I hope you will leave a comment below.  Maybe you can add a handwise or time saving suggestion that will help others?

    About the HBinFive Baking Group
    The HBinFive Baking Group, started by Michelle of Big Black Dogs, is baking through all of the breads in the Healthy Bread in Five Minutes book. For more information on the HBinFive baking group, check out BigBlackDog.

    Wednesday, June 16, 2010

    Pita Breads and Baked Falafel Balls

    Pita Breads and Baked Falafel Balls
    A Light Mediterranean Summer Dinner!

    I admit it--I have a special fondness for the thick, soft pita breads that I used to eat in Los Angeles.  I make a special effort to bring some back in my suitcase when I visit.  The kind I have been able to get here is thin and just not as tasty.  With practice, I am getting closer to baking the kind I crave.  So I was really glad to see that our "Healthy Bread in 5 Minutes a Day" baking group would be doing pita breads for this assignment.

    Our  baking group is using the HB5 Whole Wheat Bread with Olive Oil dough to make Seed Encrusted Pita Bread.
    I made a couple of substitutions to the dough:
    --Used white whole wheat flour
    --Cut the water by 1/4cup to avoid overly wet dough

    I also had some Master Dough from "Artisan Bread in 5 Minutes a Day" in the refrigerator.  I decided to make pita bread from this recipe, also.  It would give me a good opportunity to compare pita breads made from both doughs.

    I rolled out the dough using my new pastry roller.  Michelle, our group leader, told me about this gadget.  I was skeptical, I found it very easy to use.  I can grab one roller end with a whole hand.  The angle can put more pressure on a small area.  I quickly rolled out the pita breads, and felt I had more control than with a large rolling pin.   

    Check out the big bottle of seed mixture in the picture above!  After running to the store constantly to replenish my small jars, I finally bought 1/4 pound of seeds like sesame, anise, caraway, flax, and poppy.  I mixed them altogether and will keep them in my fridge.  Now I can shake them over my baking items as much as I want!  I think they make whole wheat breads taste so much better.

    I immediately placed the finished pitas between two kitchen towels on top of a cooling rack.  That way, they stayed soft and pliable.  Here is a closeup of the finished pita breads: 


    For our dinner,  I decided to finally try a 1996 baked falafel recipe that I had in my files.  Here is my adapted version:

    Baked Falafel Balls
    Serves 4 (16 balls)

    1 lb can of garbanzo beans (chick peas), rinsed and drained
    1/2 tsp garlic powder
    1/2 tsp cumin
    1 egg white
    1 TBSP oil
    1 TBSP soy sauce
    1 TBSP  lemon juice (I didn't have fresh, so I added a few drops lemon extract to reconstituted.  It works well.)
    1 TBSP  sesame seeds
    salt and pepper to taste
    3 TBSP wheat germ (could use bread crumbs)

    Preheat oven to 357 degrees.

    Mash the garbanzo beans
    with potato masher or fork.  Add all but wheat germ to the mashed beans.  Roll into one-inch balls.  Roll each  ball into wheat germ.  Bake in a non-stick baking pan for 20 minutes, turning the balls over halfway through baking.


    Serve 4 falafel balls in a pita bread with tomato, cucumber, and lettuce.  Top with plain yogurt or nonfat sour cream (optional). Tehina sauce would be wonderful!

    I also added some sweet onions that I sauteed in olive oil and a splash of balsamic vinegar.  YUM!
    We tried the falafel w/pita sandwiches with both the regular and whole wheat seed encrusted pitas.  Both were good, but the regular ones were much easier to open and fill.  I had this great picture of the food spread out to show you, but it got deleted. But we had a wonderful, low fat dinner that night!  I had made baked falafel from a mix, but it's inexpensive and easy to make it yourself with this recipe.  These recipes will be made again!!!   Hope you enjoy them soon, too.

    Handwise tips:  If you have hand pain, tendonitis, or arthritis or any other pain issues and want to make this recipe, you might space it out over a few days:
    1. Use some HB5 stored dough that you made several days before.  If you make both doughs, you don't have to make them on the same day.  You can store the whole wheat and olive oil dough in the fridge for 7 days, and the white/master dough in the fridge for 7 - 10 days.  You don't have to bake them on the same day, but they roll out pretty fast and cook quickly.  It's nice to do it all while the oven it hot!
    2. When you are mixing the dough--If your hand problems respond to warmth, mixing with your hands may be a wonderful option.  The water you add is about 100 degrees, and it's a very wet dough.  It's pretty easy to mix, and no kneading.  I always love to put my hand into the warm dough to mix it!  You can get a better idea of when the dough is "just right," too!
    3. Let the dough rest if it resists stretching out.  Wait 10-15 minutes after doing the gluten cloak, and it easily should be able to be patted into a larger circle or rolled out.  Good time to have a seat and rest your hands!
    4. Find what kind of rolling method works best for you.  You might pick up the dough and have gravity stretch it for you.  You might use an OXO-type rolling pin.  Or a pastry roller may be easier for you to use, with the angle of the roller coming from above.  I thought the pastry roller was easy to use.
    5. Soak your tools in your empty dough bucket or a pan when you are finished using them.  Soak your baking pan with soapy water after you remove the falafel.  That way, you can wash them easily later (or tomorrow!)  Give yourself the permission of time to clean up much later. 
    6. Mashing the falafel mixture can be tricky and hard on hands.   Unfortunately, a mini food processor would make the mixture too thin. I think it's easier to mash the beans in a bowl with a little bit of water or saved liquid from the can.  Then, mix in the remaining ingredients.  That's one of my recipe changes.  It goes quickly, and is easy to do. 
    Thanks for stopping by to visit!  I hope you will leave a comment below.  Maybe you can add a handwise or time saving suggestion that will help others?

    About the HBinFive Baking Group
    The HBinFive Baking Group, started by Michelle of Big Black Dogs, is baking through all of the breads in the Healthy Bread in Five Minutes book. For more information on the HBinFive baking group, check out BigBlackDog.

    Thursday, June 10, 2010

    Oven-Baked Whole Grain Pizza with Roasted Red Peppers and Italian Cheeses

     Oven-Baked Whole Grain Pizza with Roasted Red Peppers and Italian Cheeses


    Our baking group is using the whole wheat bread dough with olive oil for our next creative assignment.  It sounded healthy, but I wondered how it would taste.  

    I made a couple of substitutions to this pizza:
    --Used white whole wheat flour.
    --Cut the water by 1/4 cup to avoid overly wet dough.
    --Used a blend of Italian cheeses that include Mozzarella, Provolone, Parmesan, Asiago, Fontina and Romano Cheeses.  The Fontina cheese alone was a bit pricey for me.

    First, I charred the red bell peppers.  I covered a baking sheet with foil and put it under the broiler.  When they began to char, I put the bell peppers in a paper bag to "sweat."  After about 15 minutes, I took them out of the bag and the skins were easy to remove.  I did this a few days before making the pizza so that the pizza preparation was really easy on baking day.


    I found that my pizza peel really wasn't large enough for what I wanted to make.  Therefore, I used the back of a baking sheet.  It worked just great when I sprinkled whole wheat flour to keep the dough from sticking.

    Oven-Baked Whole Grain Pizza with Roasted Red Peppers and Fontina Cheese
     
    I baked the pizza on an unglazed tile this time, and let it cool on the rack.  My unglazed tile is a bit larger than my stone, and I wanted the extra room.  The pizza was really great!  We didn't miss the sauce.  I don't know if the white whole wheat flour made a difference, but I think I'll keep using it.  My hubby said it tasted like one of the wood fired pizzas from a restaurant we like.  

    Handwise tips:  If you have hand pain, tendonitis, or arthritis or any other pain issues and want to make this recipe, you might space it out over a few days:
    1. Use some HB5 stored dough that you made several days before.
    2. Make the roasted peppers a day or two before making the pizza.  Roast them, put them in the bag to sweat, peel them, and chop them.  That's enough for one day!
    3. Use pre-shredded cheese
    4. Let the dough rest if it resists stretching out.  Wait 10-15 minutes, and it should be able to be patted into a larger circle or rolled out.  Good time to have a seat and rest your hands!
    5. Find what kind of rolling method works best for you.  You might pick up the dough and have gravity stretch it for you.  You might use an OXO-type rolling pin.  Or a pastry roller may be easier for you to use, with the angle of the roller coming from above.
    6. If a large pizza is to much to work with, try making 2 smaller pizzas.
    About the HBinFive Baking Group

    The HBinFive Baking Group, started by Michelle of Big Black Dogs, is baking through all of the breads in the Healthy Bread in Five Minutes book. For more information on the HBinFive baking group, check out BigBlackDog.