Friday, July 30, 2010

Kitchenaid Mixer tips!

Kitchenaid Mixer tips!

My new mixer has enough space under the cabinet!

I've been wanting a mixer for about 6 months, and I think I've told just about everyone my quest.  Bed, Bath & Beyond was really nice--they let me spend time with both the Kitchenaid and Cuisinart mixers.  

Also, there were so many conflicting reviews!  Even Consumer Reports was confusing--they reviewed the Kitchenaid mixers highly, but the consumers rated them low.  Consumers talked about overheating, plastic gears, and oil leaking.

My choice wasn't getting to a final purchase, so I called Kitchenaid for help.  I spoke to a rep named Jordan, who explained that most of the problems listed are incorrect usage problems. She said that many people aren't using the mixers the way they are meant to be designed.

She suggested that I read my manual thoroughly, and start with some of the recipes in the book. Non-Kitchenaid recipes need to be modified, and the book will serve as a guide.

To remind myself, and help my baking buddies, I am listing the comments from the various reps with whom I spoke on several calls my first days of using my new Kitchenaid Pro 600 mixer: 


Kitchenaid Mixers, Per Jordan, rep, 7 21/10


This machine is made to be used really often, preferably daily.  It was made to get women out of the kitchen so they would spend more time with their families.  (Ha, Ha!  Women like it so much that they spend more time with it!)  Jordan said the overheating and oil leaking complaints are usage problems.

Oil leaking complaint:
Kitchenaid uses a food grade lubricant; they can't use an industrial lubricant in case it gets into the food mixed. 
It does break down. The heat of mixing will keep the food grade lubricant oil as a solid.  If you don't use the machine really often, run it for 2 minutes at speed 10 every 2-3 weeks (on speed 2,  if it's humid here).  Otherwise, the oil will separate.

Overheating complaints:

The machine will overheat and shut off if too much flour is added at once, or a speed over #2 is used.  If recipe not in Kitchenaid care guide, have to modify recipe.  Use this mixing guide:

***For non-Kitchenaid recipes, modify the recipe so don't have too much flour in the beginning.  Add liquid first, then about 4 cups of the flour.  Add remaining flour slowly.   

***Cut mixing time in half, or less.  (Another rep said For every 10-12 minutes of mixing with another electric mixer or by hand, = 2 minutes with Kitchenaid!)
***If the dough is climbing up the dough hook, you are overkneading.

***For breads, don't go above speed 2--use only speed 2!

Add ingredients, go to stir speed to incorporate flour and then go to speed 2.  Mix no more than 5-6 minutes.  Dough hook mixes and kneads.  Cuts down work time.


For 6qt bowl, don't use recipes containing more than:
14 cups white flour OR
8 cups high gluten/bread/specialty flour


A number of people in my baking group mentioned that their mixer overheats.  I am guessing that they might not be modifying their recipe to the mixer's needs.  The recipes from "Healthy Bread in 5 Minutes a Day" call for putting the dry ingredients into a bowl and then adding the liquid.


I called Kitchenaid about that, because it seemed different from the recipes in the manual.  Candy, the rep said to follow the method of the recipes in the manual.  If I use my mixer for my HB5 recipes, I asked if I could my dry ingredients in a separate bowl.  Then I could put the liquid into the mixer's bowl, add about 4 cups of dry mixed ingredient, stir, and then add the remaining flour mixture slowly.  Candy agreed that would work better.


Differences between Pro6qt and Professional 600:
  • Pro 6qt --11 wires on wire whip, less colors (have onyx black).  same wattage, 575 watts, like Pro 600
  • Professional 600--9 wires on whip (not much difference), 575 watts, more colors. 
Both have all metal gears and transmission.  Auto reset, turns off if it gets too hot, shuts off, slow start--starts show and speeds up.   
 

A Later call tip--use the mixer as much as possible the first month.  Any manufacturing defects will show up the first month.

I look forward to using my new mixer!!!


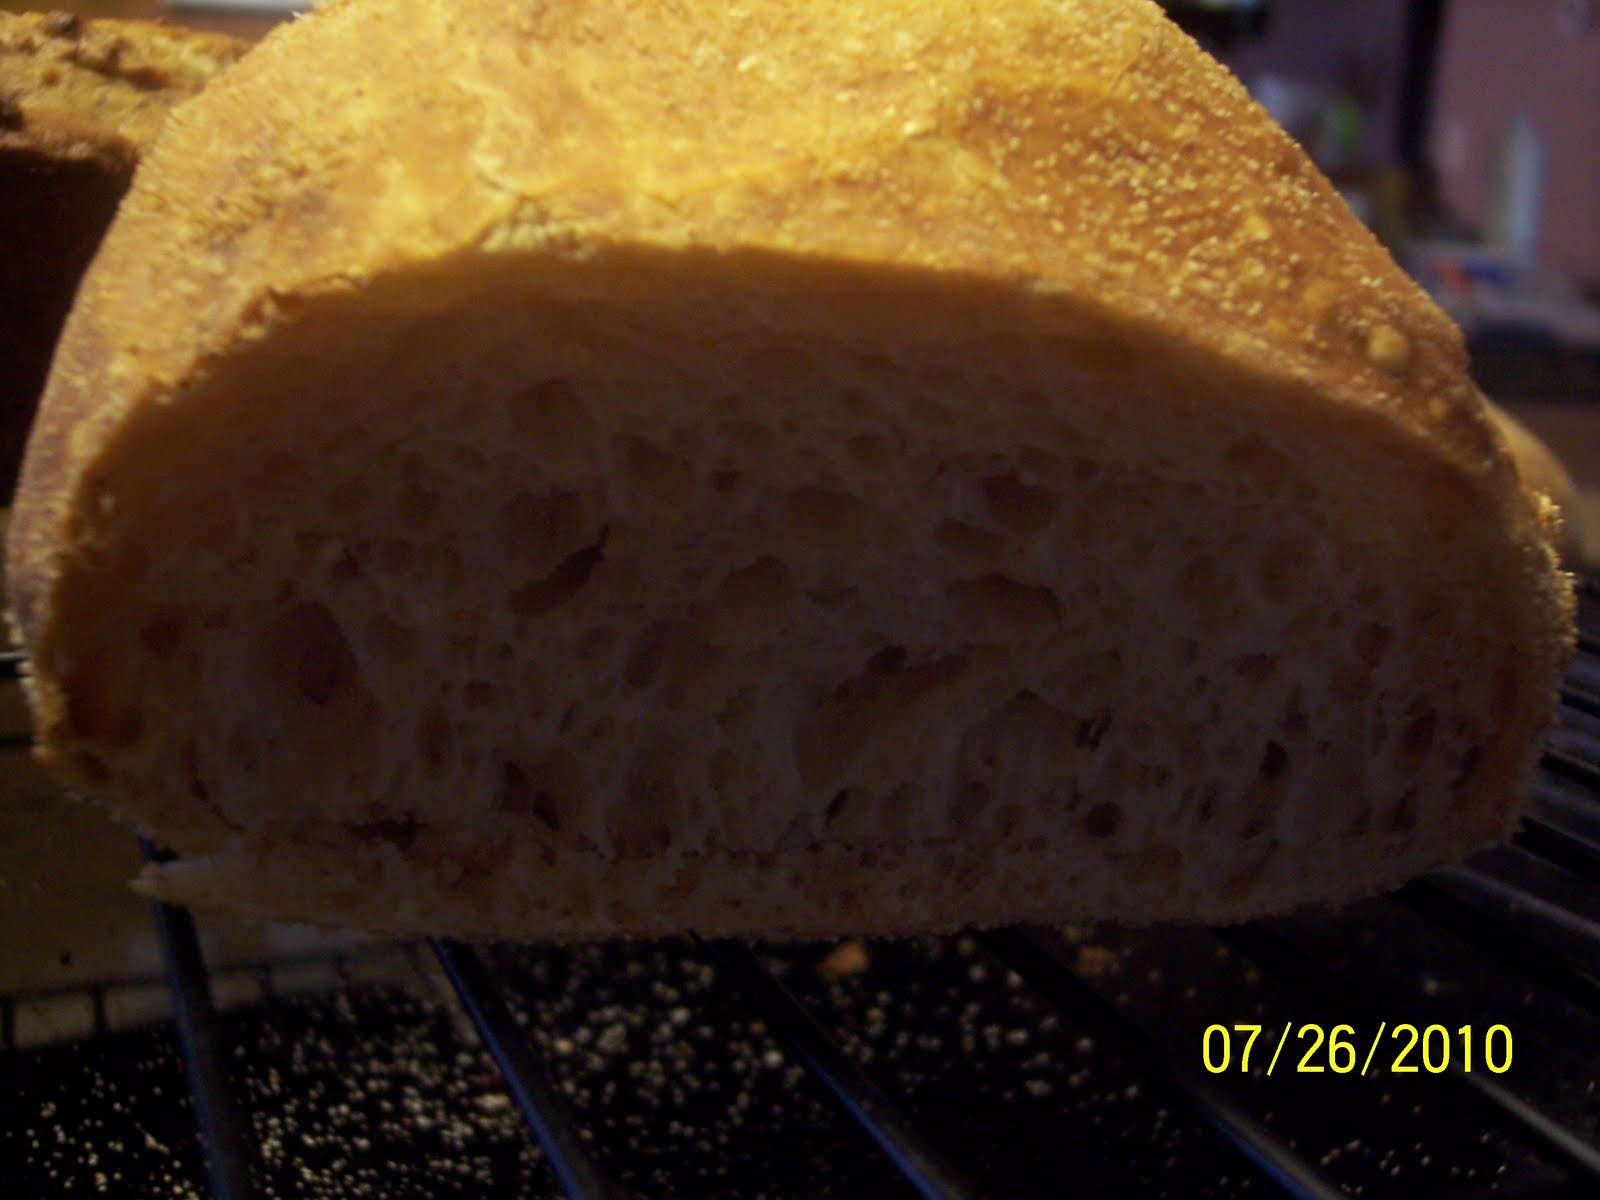
The look of baking joy!!


First loaves of bread--white bread and cinnamon-raisin bread. The dough was lucious!

Look how high they rose!   WOW!!!


 8/9--I had some leftover bread, and decided to make a berry fruit bread pudding that was posted in a King Arthur flour email for Classic Summer Pudding

However, we found we had eaten half the loaf of the white bread.  The raisin cinnamon loaf, pictured on the right, just didn't seem right for the recipe.  Also, I didn't want to heat up the house by turning on the oven.  

The solution seemed to be to make a loaf of white bread in my bread machine.  We hadn't used the bread machine to bake a bread in over a year.  I couldn't believe how much better my breads look now, compared to using the bread machine--no hole where the paddle was, better texture and taste.


Both breads, combined, did make a great fruit/bread pudding with a 4 fruit mixture.  And the crusts are being used for Jim Lahey's chocolate torte!

Happy Baking, hope these tips are helpful to you.  Please leave a comment about your mixer. 

Pistachio Twist Bread

Pistachio Twist Bread
For the 16th HBinFive Bread Braid


YUM!  This bread was one of the first assignments for the newly formed "Healthy Bread in 5 Minutes a Day" baking group.  It was made with the "braided challah with whole wheat and wheat germ" dough.  I left out the wheat germ, and added flour to make the right consistency.  Rose water flavored the pistachio filling wonderfully.  

We took the bread to a holiday party, and people couldn't stop nibbling it!

For months, I have been craving this bread.  A friend of mine went to Trader Joe's in another city and brought me back bags of shelled pistachios.  I knew just what I was going to do with them!!!

Half a recipe, which is 2 breads, seemed like a good idea.  One for us, and one for a friend.  I usually space out my baking, so one night I put all the dry ingredients (minus the yeast) into my dough bucket. 

The next morning, I added the yeast, and the liquid ingredients.  Why does the dough look so watery?  

I began adding flour to the mixture, trading off between white whole wheat and unbleached all purpose.  Finally, I figured it out (you probably figured it out, too!)--I had added enough water for a full batch.  I added the remaining ingredients to make full batch, and added enough flours to make the dough feel "right."  So I can't tell you the proportion of white whole wheat flour to all purpose that was used in the bread.  But it did come out lighter in color; probably more all purpose was used this time.
Making the filling

The filling was easy to make.  I started by weighing 5oz. of pistachios.  Just enough to make  1/2 Cup of ground pistachios.  Weighing ingredients makes the job go much faster!
Recently, I was able to buy orange water.  That was the first choice in the recipe).  I was curious how it would taste, compared to the rosewater I used last time.

After adding the orange water, the mixture became a thick paste.


Rolling out the dough Placing globs of filling on the dough makes it easier to spread out a thick filling.  Can you see a picture in the blobs?

The dough is then rolled into a log, and twisted into a spiral.
Here's 2 twists, put aside to rise.  Notice that I put timers on each of them.  Love that dollar store--I picked up timers that I can use on differently-timed baking projects.  The microwave timer tells me when to turn on the oven!

The finished loaf.  But it's stuck to the pan, and felt flimsy.  I set a timer for 5 minutes to let the loaf firm up.  
Then, using my bench knife, 
I loosened the loaf on all sides.


Instead of lifting the loaf, I lifted the Silpat by the diagonal corners to transfer it to the cooling rack.  After all that work, I wasn't going to risk a loaf falling apart!  From the cooling rack, it was easy to slip out the Silpat.   
Ta da!  The loaves are now cooling on the racks.  With the rest of the dough, I made hot dog buns.

What a great day of baking! 

Handwise/Time Saving tips:  If you have hand pain, tendonitis, or arthritis or any other pain issues and want to make this recipe, you might space it out over a few days:

Make the HB5 stored dough several days before you plan to bake.  Make the filling on a different day, so you can concentrate on making the filling and cleanup of food processor on that day. 


When you are mixing the dough--If your hand problems respond to warmth, mixing with your hands may be a wonderful option.  The water you add is about 100 degrees, and it's a very wet dough.  It's pretty easy to mix, and no kneading.  I always love to put my hand into the warm dough to mix it!  You can get a better idea of when the dough is "just right," too!  That was especially important this time, when I added too much water.

Let the dough rest if it resists stretching out.  Wait 10-15 minutes after doing the gluten cloak, and it easily should be able to be patted into a larger circle or rolled out.  Good time to have a seat and rest your hands!


Find what kind of rolling method works best for you.  You might pick up the dough and have gravity stretch it for you.  You might use an OXO-type rolling pin.  Or a pastry roller may be easier for you to use, with the angle of the roller coming from above.  I think the pastry roller is the easiest to use. 


You don't have to bake several items on the same day.  However, the hot dog buns form pretty fast and cook quickly.  It's nice to do it all while the oven it hot!

Soak your tools in your empty dough bucket or a pan when you are finished using them.  Soak your baking pan with soapy water after you remove the bread.  That way, you can wash them easily later (or tomorrow!)  Give yourself the permission of time to clean up much later.
______


Thanks for stopping by to visit!  I hope you will leave a comment below.  Maybe you can add a handwise or time saving suggestion that will help others?


About the HBinFive Baking Group
The HBinFive Baking Group, started by Michelle of Big Black Dogs, is baking through all of the breads in the Healthy Bread in Five Minutes book. To see what my HB5 baking buddies have made recently, check out 16th HB5 Bread Braid.

Wednesday, July 28, 2010

Msemmen--Algerian Flatbread

Msemmen--Algerian Flatbread
For the 16th HBin5 Bread Braid


I had 1/4 pound of master dough from "Healthy Bread in 5 Minutes a Day" in my fridge.  It was the last day to use the dough, too.  Also, the dough kept saying "bake me!" every time I opened the fridge for the last few days.

What did the dough want to be? What can you make with 1/4 pound of HB5 master dough?  Aha, Msemmen--Algerian Flatbread.  I know we aren't baking this yet for our group assignment this week, but I'll make the assigned bread for the upcoming braid later.

The spice-oil mixture was easy to make.  The mixture includes olive oil, cumin, and turmeric.  However, I thought the recipe made a lot more mixture than I needed for the one flatbread.  It was quite oily, too.  The oil went all over my baking sheet. 


The dough was rolled out.  The spice oil mixture was brushed onto it.  Then it was rolled it into a log, and curled it into a spiral.  Here's the dough, resting after all that "work." 


Twenty minutes later, the spiral was rolled flat.  It's now ready for my cast iron flat skillet.  After cooking the first side, I flipped the flatbread over.

The book says to cover the skillet to trap any steam and heat.  I didn't have a lid for my new flat skillet, so I used double thickness of foil.

Uh oh!  Is that smoke?  Those of you who follow my blog had a good laugh with me about the smoke from the sticky buns.  They set off the smoke detector.  The alarm company called, and they almost called the fire dept!  

I should have called them to warn them this time.  The smoke detector alarm went off--I thought I could get away with it....  At least I know the alarm company is paying attention.


Here's a picture of the final flatbread.:


It was good, but I'd probably make this on the outdoor grill next time.  The smoke detectors won't go off (but a neighbor might come over to see all the smoke!)
___________


Handwise tips:  If you have hand pain, tendonitis, or arthritis or any other pain issues and want to enjoy this bread,

Honestly,  I think a lot of work goes into this recipe.  I might not make it again.  Or, I might make the spice-oil mixture and use it as a dip for pita bread or crusty breads.
_____

About the HBinFive Baking Group
The HBinFive Baking Group, started by Michelle of Big Black Dogs, is baking through all of the breads in the Healthy Bread in Five Minutes book. To see what my baking buddies have done this time, check out HBin5 16th Bread Braid


Thanks for stopping by.  I hope you will leave a comment or suggestion.  Hope you will come back soon!

Jim Lahey's bread--Testing Different Baking Methods

Jim Lahey's bread--Testing Different Baking Methods

Ready for the oven:  in a Casserole Dish, and Resting on a Pizza Peel

Ellen, a baking buddy, was raving about the breads she has made with Jim Lahey's method.  She says that people just gobble up her breads!

I got Jim Lahey's book, "My Bread, the Revolutionary No-Work, No-Knead Method" from the library.  We first tried the Pizza Cipolla (onion pizza) for dinner the next night, and it was fabulous.  So I decided to try his basic no-knead bread recipe.  One problem--I don't have a cast iron pot, and I really don't want to buy more pots or baking equipment.  My cupboards are really full!!!

So my kitchen went into "test kitchen mode."  I decided to make the dough, and try baking the dough different ways using current equipment--on a pizza stone, and in a covered Corningware casserole.


Here's a picture of the dough, after it rose for 18 hours: 
I called Pyrex/Corningware about heating the casserole dish in the oven before adding the dough, as a cast iron pot would be used.  They didn't recommend it, but did say it could withstand 450 degrees for baking (just not the broiler).  That meant I would be adding the bread to a room temperature pan before baking.

For the stone baking, it would be similar to the "steam alternative method" discussed by the "Artisan Bread in 5 Minutes a Day" authors.  That's where you trap steam by baking the bread with an inverted foil lasagne pan for the first half of baking.


Following the book's instructions, the batch of dough was put onto a floured baking sheet, and folded into a ball.  I used my bench knife to cut the dough in half and re-fold each half into a ball.  The stone and casserole dish were both sprinkled with cornmeal, the dough was added, and cornmeal was sprinkled on top.


Each bread was baked separately, for this test.  At the end of the baking time for the bread in the casserole dish, the top looked pale.  So I removed the bread and baked it for 5 minutes more to brown it.  When time was up, it registered done with my thermometer: 


Here's a picture of both breads.  The one with the thermometer is the one baked on the stone.  You'll note that it has a slightly darker (and I think better looking) crust.


We tested both breads a few hours later.  Both had a nice crust, although the one on the stone had a crisper crust.  Both had a nice, open crumb:    


And the taste?

My hubby said the bread baked in the covered Corningware tasted
like French bread.  He said the other tasted like "something else." 


I thought the Corningware one tasted kind of flat, and the one on the stone tasted like "extra" flavor.  Actually, the one on the stone tasted like the master dough boule bread from “Artisan Breads in 5 Minutes a Day.”  But you really tasted more true bread flavor from the covered Corningware method.


We were really surprised to find that the breads tasted differently, because they came from the same batch of dough.

I brought both breads to my yoga class for taste tests.  People liked both of them, but one woman made an especially interesting comment.  She said she was sensitive to yeast at one time, and could really taste the yeast on the bread baked on the stone.  She didn’t taste the yeast on the bread baked in the covered Corningware casserole pot.  She suggested that maybe the enclosed method killed more of the yeast, so you didn’t taste it in the baked product.


My husband and I ate the remaining bread, now that it's a day older.  The taste difference showed up even more.


The verdict?  This bread is worth the purchase of another pan  If the taste of the bread is that much better in a Corningware casserole dish, then the crust should be even better in a cast iron dutch oven.  After doing my research on various cast iron pans, I ordered a Tramontina 6.5 Qt. Cast Iron Dutch Oven.  It had high reviews from people using it.  


BUT--I will check out the weight of the dutch oven before I buy it.  I'll have to consider adding a few pounds of dough, too.  It might be too heavy.  Or, I might ask my hubby to put the bread in the oven.

If I don't buy the pot, the recipe is still good in the Corningware casserole dish.


__________
Handwise tips:  If you have hand pain, tendonitis, or arthritis or any other pain issues and want to make this recipe,
  1. This is a very wet dough, and pretty easy to mix.  Many people could probably make the dough.  However, you may need help manuevering the cast iron pot--it's pretty heavy!
  2. Consider making it in a covered casserole dish,  it's still pretty good that way.
  3. Soak your tools in your empty dough bucket or a pan when you are finished using them.   That way, you can wash them easily later (or tomorrow!)  Give yourself the permission of time to clean up much later.
___________

Thanks for coming by my blog.  I hope the test results have been helpful to you.  Please leave a comment before going, and stop by again!

Thursday, July 15, 2010

Gluten-Free Parmesan Pretzel Sticks

Gluten-Free Parmesan Pretzel Sticks


Our assignment, for our "Healthy Bread in 5 Minutes," baking group, was to use the gluten-free cheddar sesame dough to make breadsticks.  It took me awhile to remember to do this project, because I kept thinking about the dough that got dropped from the loaf I made the prior week!

It was 4 days past the "bake by" date, when I remembered the rest of the dough was in the garage refrigerator.  I wasn't sure it would work, but I thought I'd give it a try. I put a lot of time and money into that dough already, and wasn't going to waste it if possible.  

The dough seemed fine, except that it was a bit watery.  Adding a bit of rice flour thickened it up nicely...

I started out by sprinkling my workspace with rice flour, so that I could roll out the dough:


I then rolled out the dough and cut it with my bench knife:

The handle on the bench knife makes it easy to grip it, and then move the sticks to the baking pan:


I seasoned the pretzel sticks with a bit of kosher salt and grated parmesan cheese.  They looked great after baking!


These were soooo addictive, and we just loved them!  My husband has requested that I make them again!  He calls them the best ever pretzel sticks, so that's what I am going to call them. 


Handwise and time saving tips--

I think that these pretzel/bread sticks use your hands a lot, and may not be possible for some people with hand pain.  So I'd like to focus on organization tips, which may be helpful to everyone:


I think it's important to take some time, when setting up, to think about putting what you need around you.  Minimize the stopping and starting to find things...


See the trash bag that's hanging from the counter?  It's hanging from a purse holder.  Someone gave that to me to hang my purse from a table in a restaurant.  I use it for "dry trash."  I've repurposed it here, so I don't have to run to the trash under the sink all the time.


I also try to keep a container for eggshells and other wet trash.  Sometimes, it's just an empty container from large yogurt.

Measuring ingredients on my scale is really fast for me, so that's one of the first things I pull out when I bake.


Of course, it's helpful to have a large kitchen where you can plop a card table and throw stuff on it for improptu baking!  We don't eat in our kitchen, so this is my extra baking room.  My cookbooks are behind the table.


I like putting some flour in this shaker, before I put the larger flour of container away.  It's helpful for me in sprinkling flour onto dough or the mat.  I like it so much that I think I will find a larger shaker for my all purpose flour,  which I use more, and use this one for whole wheat.


If you mix with a food processor, add a small amount of soapy water and run it to clean the blade. Then, remove the blade and put a small waterproof tube, such as from a 35mm container, over the opening.  

You will then be able to fill up the food processor a lot more to soak:


I like to keep a dough bucket or bowl of soapy water nearby for my used tools.  I throw them in the soapy water as I go.  That's important for me, because my dishwasher isn't efficient for a lot of my utensils:


We have a dish drawer.  While people oooh and aahh over it, it's not easy to use.  It fills up quickly! Most of the time, we hand wash and use it as an expensive dish drainer.  

So soaking helps speed up cleanup! 


Thanks for stopping by!  I hope you will leave a comment or tip below. 

If you would like to see what my bread baking friends have done with this recipe, click on this link:  15th Healthy Bread in 5 Minutes Baking Braid


Gluten Free Cheddar and Sesame Bread

Gluten Free Cheddar and Sesame Bread


Wow, I was really glad to give gluten free baking another try.  I had invested quite a bit in gluten-free flours recently.  They have been sitting in the pantry, waiting their turn!


It took quite awhile to measure out all the different ingredients for this dough.  I wasn't sure I would take the time (or expense of making this loaf again.  The dough was almost a batter, but looked great in the loaf pan:

I was trying to hold the loaf pan in my right hand, while holding the long-nose watering can of water in my left hand.  It's easier for me to add a cup of water to the broiling pan with my designated baking watering can.  I didn't think it was going to be a problem....

...until the loaf pan flew out of my hand and onto the floor.  OOPS!!!  I stared at the dough on the floor for a few minutes, thinking about all the work I did to make this bread.  

 After considering several options, I decided to bake what was left in the pan.  I didn't think it would rise much after the jolt, but gluten-free breads don't rise much anyways.


Here's a picture of what was left to bake.  I lost about 2/3 of the dough/batter.  It was still wonderful to get a chance to try it.


I tried some of the bread when it cooled slightly, and it was awesome!

My husband came home and he also tasted the bread.  He thought it was great!  Hard to believe that it's gluten free.  The texture is slightly dense.  However, I don't know if that's because it's gluten free or the bread lost its rise when it was dropped.


The next day, only a little bit was left.  For lunch, I enjoyed it with  scrambled eggs I made, using freshly chopped dill from my garden.  What a wonderful lunch!


Note to self:  Be careful what you wish for, you may get it!  I have been baking a lot lately.  I wanted to make this bread this week, but was wondering what I'd do with all the bread in the house.  Somehow, I have less bread to use up now!!!

Handwise tips:  If you have hand pain, tendonitis, or arthritis or any other pain issues and want to make this recipe,  
  • You might space it out over a few days.  Make the stored dough several days before. I bought a brick of my favorite cheese and grated it the day before baking.  You could buy pre-shredded cheese or grate it in the food processor, if you want.
    • This is a really wet dough, almost a batter.  So it's pretty easy to mix and shape. It doesn't seem to need a lot of vigorous hand use!  Just make sure that your hands are really wet when you shape the dough into a log.  That way, less dough will stick to your hands.  
      • Soak your tools in your empty dough bucket or a pan when you are finished using them.   That way, you can wash them easily later (or tomorrow!)  Give yourself the permission of time to clean up much later.   


        • There seemed to be a lot of measuring of different ingredients in this recipe.  If you do a lot of gluten-free baking, you may want to convert the measurements to weight.  I don't do a lot of gluten free baking, so I skipped the conversion.  But measuring by weight is much faster and easier.


          Thanks for stopping by to visit!  I hope you will leave a comment below.  Maybe you can add a handwise or time saving suggestion that will help others?


          About the HBinFive Baking Group
          The HBinFive Baking Group, started by Michelle of Big Black Dogs, is baking through all of the breads in the Healthy Bread in Five Minutes book. For more information on the HBinFive baking group, check out The 15th "Healthy Bread in 5 Minutes" Bread Braid.

          Thursday, July 1, 2010

          Whole Wheat Banana Bread and Muffins


          Whole Wheat Banana Bread and Muffins

          I love bananas!  They are my "go to" snack.  I grab one, eat it, and the banana keeps me full for quite awhile.  I love banana bread, so I was wondering about this whole wheat version from "Healthy Breads in 5 Minutes a Day."


          My local grocery store marks down their very ripe bananas on Mondays.  Just perfect for banana bread!  I am nicknamed "the muffin lady" in this store, so sometimes they will save ripe bananas for me.

          The dough seemed quite wet.  It reminded me of the Whole Wheat Mixed Berry Bread.  


          I created some steam in my microwave oven, where I would let my dough rise.  I put a post-it note at the top of the dough, so I could see the amount of rise.  Several hours later, you can see that the dough really did rise!  Success!


          I wanted a rectangular loaf that would be easy to slice.  I found a folding technique in "A Blessing of Bread--Recipes and Rituals, Memories and Mitzvahs" by Maggie Glezer.  Ms. Glezer has wonderful interviews with long time bakers who share their baking techniques.  I just love reading stories of the bakers!  And they share their wonderful tips!!  One bagel and bread baker shared his folding method for a loaf of deli rye bread that would be sliced for sandwiches.  I used it on the Whole Wheat Mixed Berry Bread and just loved it!  I will repeat it here, it's so wonderful.

          Start with a thick rectangle of dough. Then,
                "To shape the loaf, fold opposite edges in to the center of the dough and press the dough to even its thickness (1,2 below).  Roll the dough up from a long (not the folded) end (3,4) to make a log that is about 3 inches in diameter and 9 inches long.  (Basically, you want to make a short fat log so you will have big slices of bread for sandwiches.)  Roll the log back and forth to even it, then place it seam side down on the peel or board."


          Then cover the loaves with plastic wrap to rise.

          As you can see in the picture below, this method creates a uniform rectangular loaf.  I like the shape better than a regular oval or letter fold technique:


          We liked this bread.  It reminded us of the Whole Wheat Mixed Berry Bread.  We first ate it on Friday night, and found ourselves snacking on it all weekend!


          Handwise tips:  If you have hand pain, tendonitis, or arthritis or any other pain issues and want to make this recipe,
          • Make the dough several days before you bake.
          •  
          • Shlep once, bake twice!  Our group tends to make a recipe a week, and posts about them every two weeks.  I don't like pulling out my five-pound containers of flour. Filling up a smaller container more often is bothersome.  Some time and energy is saved by measuring out the dry ingredients for both recipes at once.   You can easily measure out the flours and salt.  I measure by scale, which I think is faster than measuring by cups.  It's more accurate, too--a cup is a cup, no matter whether you fluff the flour or pack it in. Just be sure to label what's in your container!
          • A mixer or food processor can help you.  You could put soapy water in it and maybe run it for a few seconds to help clean it after removing the dough.  
          • Then, if you are using a food processor, remove the dough hook/blade so that you can fill up the bowl even more.  Put an empty (cleaned)  container from 35mm film upside down, over the center portion and you can fill it up higher to soak. The water shouldn't leak out!
          • Let the dough rest if it resists stretching out.  Wait 10-15 minutes after doing the gluten cloak, and it easily should be able to be shaped.  Good time to have a seat and rest your hands!
          • I used a muffin scoop and a small spatula to remove the dough for muffins.  For some people, that's easier than squeezing the muffin scoop handle.
          • Maybe making a loaf on 2 separate days.  You don't have to bake it all at once.
          • Soak your tools in your empty dough bucket or a pan when you are finished using them.  That way, you can wash them easily later (or tomorrow!)  Give yourself the permission of time to clean up much later.
          Thanks for stopping by to visit!  I hope you will leave a comment below.  Maybe you can add a handwise or time saving suggestion that will help others?

          About the HBinFive Baking Group
          The HBinFive Baking Group, started by Michelle of Big Black Dogs, is baking through all of the breads in the Healthy Bread in Five Minutes book. For more information on the HBinFive baking group, check out BigBlackDog.