Shaping Baguettes
I'm still practicing shaping a pretty baguette. I was getting sad that I wasn't able to do this classic shape very well.
The pictures in the "Healthy Bread in Five Minutes a Day" book explain a method of letter fold and then holding the ends and stretching the dough. I get pinched ends and irregular thickness when I try this method.
I saw a helpful video by Susan Reid at King Arthur Flour Baking Education Center. She said that baguette shaping takes practice, so don't be upset if you can't do this right away! I've included her wonderful video so maybe you can also pick up some tips:
Don't you just love Susan's favorite dough cover--a showercap? :) It works really well. And, if you can't find your broiler pan, she uses a cast iron pan.
I didn't use Susan Reid's starter and dough recipe. I had some Master Dough from "Artisan Bread in 5 Minutes a Day" in the refrigerator. It keeps for 7 - 10 days, so I often have this dough in the refrigerator. After it sits in the refrigerator for a few days, it develops a more sourdough flavor. I don't usually use the dough the same day I make it, so it can develop more flavor. This time was also my first time using starter! I cut down the amount of flour and water to compensate for the starter.
The dough was hard to mix, so I added more water until it was the right consistency. The next morning, however, the dough was too wet. I decided to try baking it anyways.
The dough was hard to mix, so I added more water until it was the right consistency. The next morning, however, the dough was too wet. I decided to try baking it anyways.
Here's my first attempt, after seeing the video:

They didn't come out in the shape I wanted, but they tasted good. At this point, I added more flour to the dough. I was hoping that the flour would be absorbed into the dough. I think the dough was somewhat thicker next time.
Next, I tried using my baguette pan. I put parchment paper on my special two-channel pan. I measured out 3/4 pound of dough for each baguette. I used the video's tip of spraying the dough before I put them into the oven. Here's the finished product, with the baguette pan in the background:
Next, I tried using my baguette pan. I put parchment paper on my special two-channel pan. I measured out 3/4 pound of dough for each baguette. I used the video's tip of spraying the dough before I put them into the oven. Here's the finished product, with the baguette pan in the background:
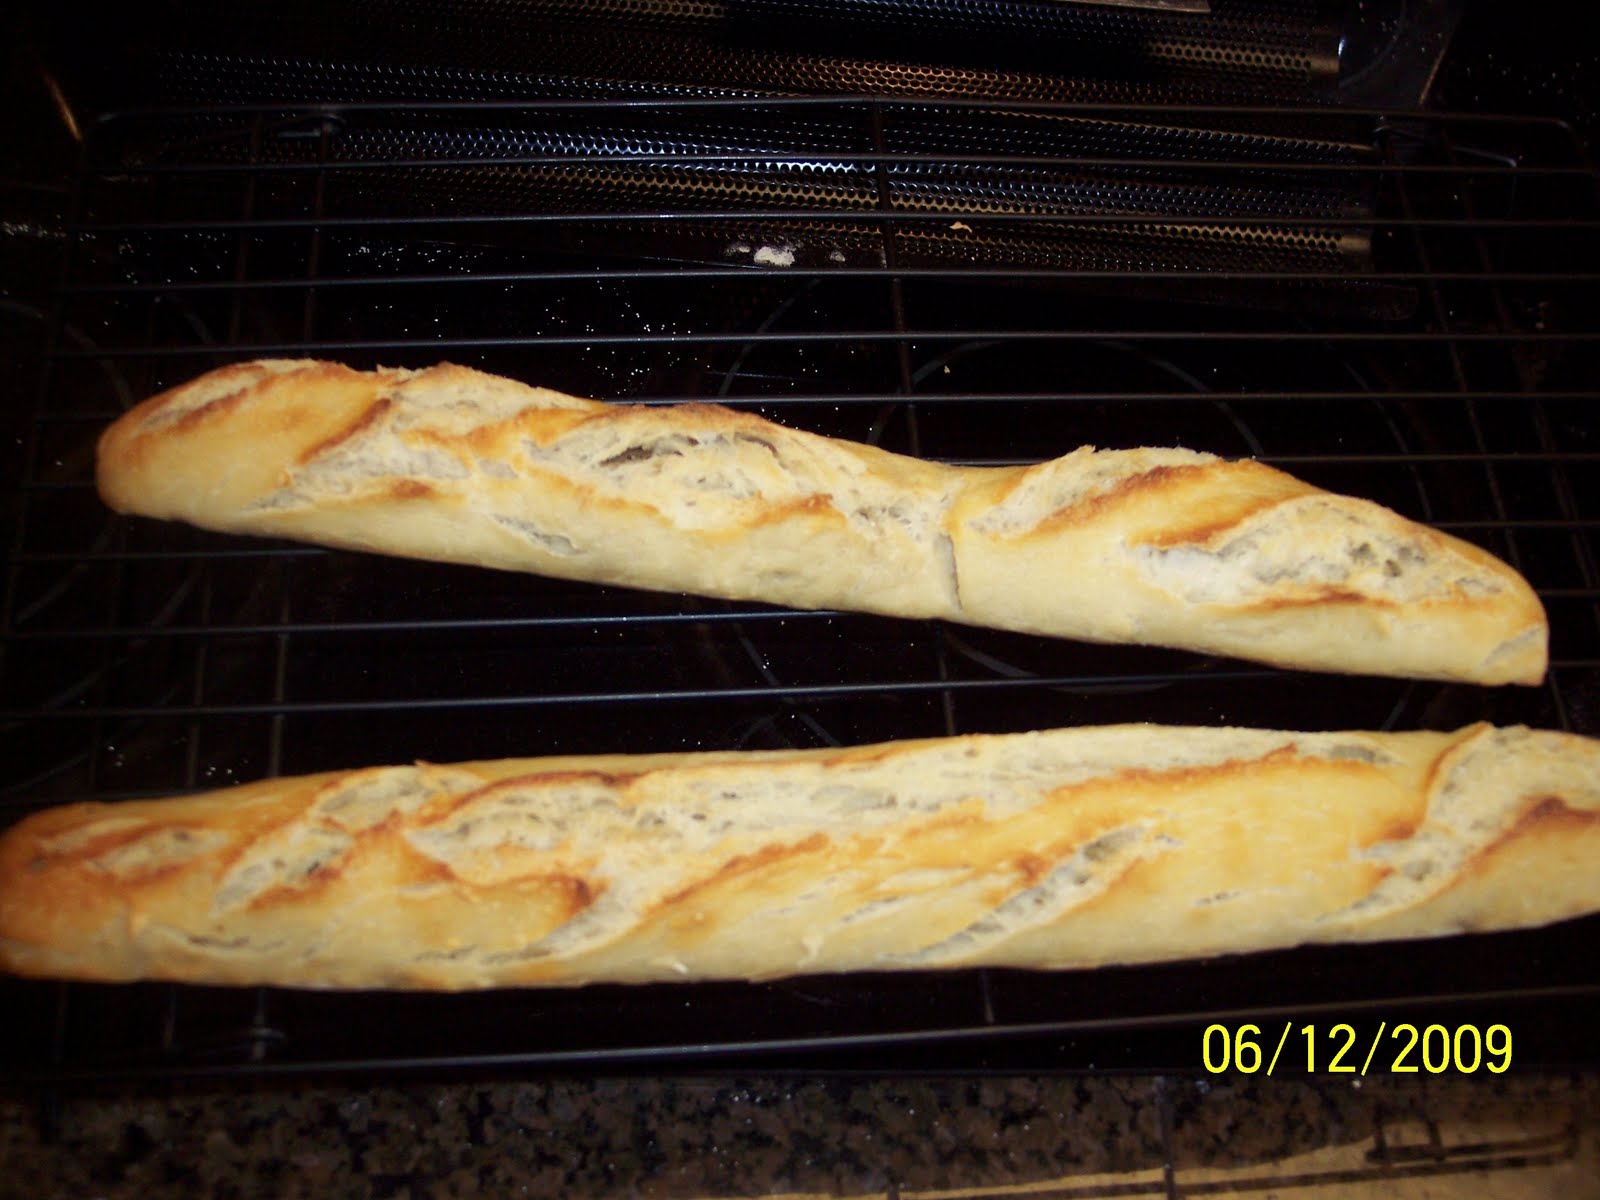
I sliced up thin slices of warm baguette, spread them with butter, and ate them with a big salad. Wonderful!
------------
Update, 2 weeks later...:
I tried baguettes again, this time with a thicker HB5 master dough. I made the garlic studded baguette. I used white whole wheat flour and peeled the garlic. I also pulled the letter-folded logs into a longer log, like in our book. This thicker dough was easier to handle:

I gave them to a friend (a good thing, I had enough bread around here!), and she immediately tried it with butter. They were wonderful--the roasted garlic flavored the loaves! YUM!!
Handwise tips: If you have hand pain, tendonitis, or arthritis or any other pain issues and want to make this recipe, you might space it out over a few days:
- Use some AB5 or HB5 stored dough that you made several days before. You don't have to bake them on the same day. Baguette shaping is pretty "hand intensive," involving a lot of use of your hands. Think about what else you will be doing that day--you may not want to pull weeds or do a lot of typing on that day.
- When you are mixing the dough--If your hand problems respond to warmth, mixing with your hands may be a wonderful option. The water you add is about 100 degrees, and it's a very wet dough. It's pretty easy to mix, and no kneading. I always love to put my hand into the warm dough to mix it! You can get a better idea of when the dough is "just right," too!
- Let the dough rest if it resists stretching out. Wait 10-15 minutes after doing the gluten cloak, and it easily should be able to be patted into a larger circle or rolled out. Good time to have a seat and rest your hands!
- Find what kind of rolling method works best for you. You might pick up the dough and have gravity stretch it for you. You might use an OXO-type rolling pin. Or a pastry roller may be easier for you to use, with the angle of the roller coming from above. I think a pastry roller was easy to use.
- Soak your tools in your empty dough bucket or a pan when you are finished using them. That way, you can wash them easily later (or tomorrow!) Give yourself the permission of time to clean up much later.
About the HBinFive Baking Group
The HBinFive Baking Group, started by Michelle of Big Black Dogs, is baking through all of the breads in the Healthy Bread in Five Minutes book. For more information on the HBinFive baking group, check out BigBlackDog.
I love your baquettes. I bet that the garlic added a nice twist.
ReplyDeleteYes, Bonnie! The garlic flavor roasted into the bread. It's wonderful. I highly recommend peeling the garlic, or you get garlic skins in your mouth.
ReplyDeleteI think your baguettes look great. With me it's a hit or miss thing most of the time. I bet your friend was happy to get those pretty loaves, and for me you can never have enough garlic.
ReplyDeleteThis comment has been removed by a blog administrator.
ReplyDelete